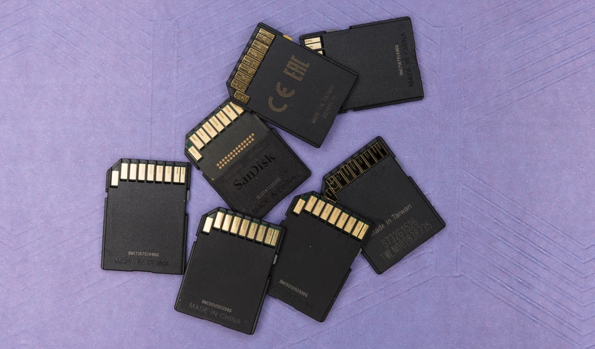
 SD and CF cards have been used over time to offer convenient storage and data transfer options. However, there are more chances of losing data from these cards just like it happens in computers and smartphones.
Do not however fret as you can still recover your lost files and folders from SD and CF cards. In this article, we will show you some of the best data recovery options for Compact Flash and Storage Device cards respectively. For more information on some of the ways to recover files from a formatted CF card, follow the link provided.
How To Recover Data From SD and CF Card
If you use SD or CF cards and accidentally lose data due to accidental deletion, virus, or other reasons, follow the step-by-step process below to recover your data.
Step 1: Ensure The Card Is Accessible
Before you can recover lost data, understand the circumstances behind the loss, whether formatted CF card or just card inaccessibility. However, you will not be able to recover your files if your computer won’t access and read from it.
Begin by ensuring that the card is readable or generally accessible to the computer. Try all the available ports on the computer until you get one that can successfully read the content of the card.
If you use a card reader but still can’t get the computer to recognize the card, change the ports, change the card reader or try using a completely different computer.
Step 2: Resolve Logical Issues With Your Card
Before you can find out why your data is not accessible and restore lost data, begin by resolving the logical issues causing the error.
Windows have the tendency to hide some files by default especially those files associated with settings. Begin by making the files visible manually. Launch File Explorer and click on the “View” tab. Click on “Options” and then select “Change folder and search options.” Now click on the “View” tab and choose the “Show hidden files, folders, and drivers” button. Click on it and tap “Ok.”
Now assign a driver letter to the card to make it more visible and easier to identify. Generally, Windows will prevent you from gaining access to any SD or CF card without a letter. Do this manually through the Disk Management tool. Right-click the start button and tap on “Disk Management.” Right-click on your card and choose “Change Drive Letter and Paths.” Select it, click “Change,” select a letter to use, click “Ok,” and “Ok” again to complete.
Once the letter is fixed, update or reinstall the drivers. This is because corrupted or outdated drivers have higher chances of preventing disc accessibility. To update drivers, right-click on the “Start” button and select the “Device Manager” icon.
Tap on “Disk drives” to expand the options. Right-click on your card, and tap on “Properties” to update the drivers.
If you are using a new Windows system, click on the “Driver” tab, followed by “Update Driver” and then “Search automatically for drivers.”
However, if you cannot get updates to the card drivers, proceed to uninstall the device by clicking on the “Uninstall Device” tap followed by “Uninstall.” Once the process is successful, remove the card and plug it back in again. The drivers will automatically reinstall.
Also read: 12 Essential Windows Apps for Students
Step 3: Recover Lost Data From Your
Proceed to recover data from your card with the most convenient method. For the purpose of this review, we will show you how to recover data from the card using Disk Drill by CleverFiles data recovery software. Here’s the step-by-step process.
- Connect the CF card to your computer
- Download and install the software
- Launch the software, select your SD or CF card in the list of available devices, and click search for lost data
- When the scanning process is complete, click “Review found items”
- Select or choose the files you intend to recover
- Choose a new location where you would like the files to be restored. Do not choose the same location or the card where the files were lost from.